Installing a light switch may seem like a daunting task, but with the right tools and knowledge, you can easily tackle this project yourself. This article will guide you through the basics of light switch installation, provide you with a step-by-step guide, and offer some essential safety tips to ensure a successful and accident-free DIY experience.
Understanding the Basics of Light Switch Installation
Before jumping into the installation process, it’s crucial to understand the role of a light switch in your home’s electrical system. A light switch acts as a control mechanism, allowing you to turn lights on and off. It completes or breaks the electrical circuit, connecting or disconnecting the power supply to the power switch.
But let’s dive a little deeper into the fascinating world of light switches. Did you know that the concept of a light switch dates back to the late 19th century? Before the invention of the light switch, people relied on gas lamps or candles to illuminate their homes. The introduction of electric lighting revolutionized the way we illuminate our spaces, and the light switch became an integral part of this technological advancement.
There are different types of light switches available, and understanding their differences is essential in choosing the right one for your needs. Let’s take a closer look at some of the most common types:
- Single-pole switches: These are the most basic type of light switches and are commonly used in residential settings. A single-pole switch controls a single light fixture from one location. It has two terminals, allowing you to connect the hot wire and the load wire.
- Three-way switches: As the name suggests, three-way switches are used when you want to control a single light fixture from two different locations. They have three terminals and are commonly found in hallways, staircases, or large rooms where multiple access points are required.
- Dimmer switches: If you want to have control over the brightness of your lights, dimmer switches are the way to go. These switches allow you to adjust the intensity of the light, creating the perfect ambiance for any occasion. Dimmer switches come in various styles, including rotary, slide, and touch-sensitive options.
Now that you have a better understanding of the different types of light switches, you can confidently choose the appropriate switch for your desired lighting functionality. Remember to consult an electrician if you’re unsure about the installation process or if you need assistance in selecting the right switch for your specific needs.
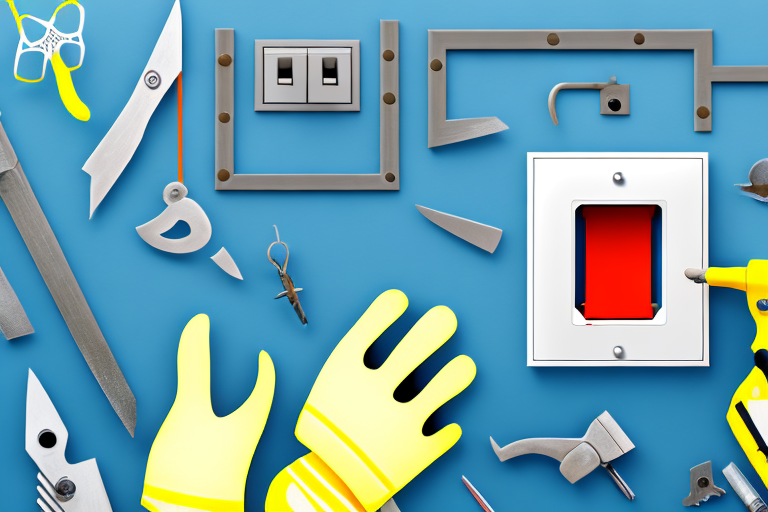
Gathering the Necessary Tools for Light Switch Installation
When it comes to electrical work, preparation is key. Before you embark on any light switch installation project, it’s crucial to gather all the necessary tools and equipment. By having the right tools at your disposal, you can ensure a smooth and successful installation process.
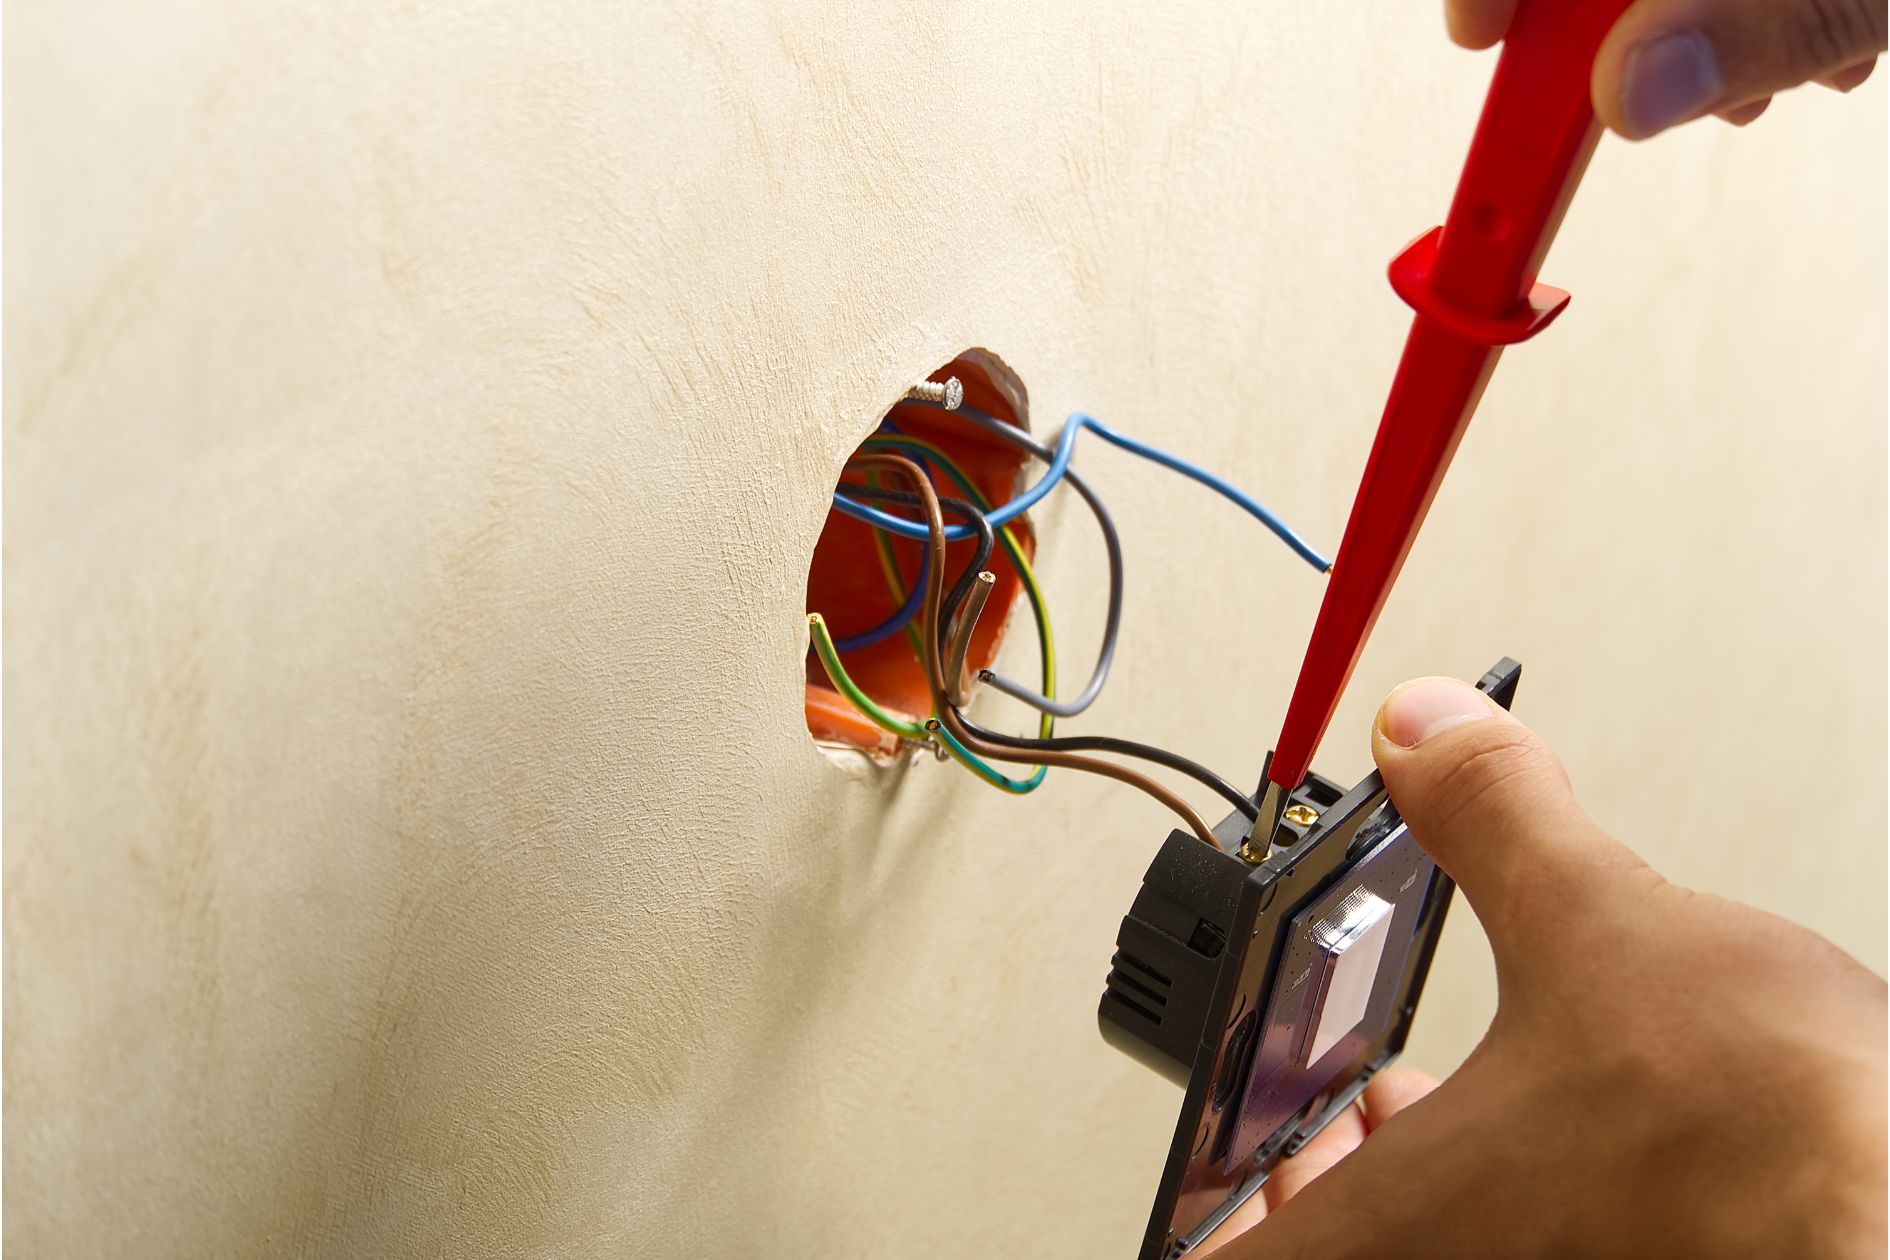
One of the most essential tools for any DIY electric work is a voltage tester. This handy device allows you to check if a circuit is live or not, ensuring your safety before you begin working on it. By using a voltage tester, you can avoid accidental shocks and potential injuries.
Another tool that you’ll need is a wire stripper. This tool enables you to remove the insulation from the electrical wires, exposing the bare copper for proper connections. A wire stripper with different gauge settings will ensure that you can work with various wire sizes effectively. You can also read about 5 Things Buyer’s Agent Expects You to Know by visiting https://browardconcreteservices.com/5-things-buyers-agent-expects-you-to-know/
A set of screwdrivers is also a must-have for light switch installation. Different types of screws may be used, and having a variety of screwdrivers will ensure that you have the right tool for the job. Whether it’s a Phillips head or a flathead screwdriver, having a complete set will save you from frustration and potential damage to the screws.
Electrical tape is another tool that should be in your arsenal. This versatile tape is used to insulate and protect electrical connections. By wrapping the exposed wires with electrical tape, you can prevent any accidental contact and ensure a secure and long-lasting connection.
Wire nuts, also known as wire connectors, are essential for joining wires together. These small caps are used to secure the ends of wires, ensuring a safe and reliable connection. With different sizes available, you can choose the appropriate wire nuts for the gauge of wires you are working with.
While having the right tools is crucial, it’s equally important to invest in safety equipment. Safety goggles should be worn to protect your eyes from any debris or sparks that may occur during the installation process. Gloves will provide an extra layer of protection and prevent any accidental contact with live wires. Additionally, non-conductive footwear is essential to avoid any electrical shocks or grounding issues.
By gathering all these tools and safety equipment, you can approach your light switch installation project with confidence and peace of mind. Remember, safety should always be your top priority when working with electricity. Take the time to gather the necessary tools and equipment, and you’ll be well-prepared for a successful installation.
Step-by-Step Guide to Installing a Light Switch
Now that you have the necessary tools and safety equipment on hand, let’s dive into the step-by-step process of installing a light switch.
Preparing Your Workspace
Begin by turning off the power to the room or area where you will be installing the light switch. This is an essential safety measure to prevent any electrical accidents. You can do this by switching off the circuit breaker or removing the corresponding fuse. Always double-check that the power is off by testing the existing light switch or using a voltage tester.
Once the power is off, you can start preparing your workspace by removing the switch plate cover. To do this, unscrew the screws that hold the cover in place. Gently pull the cover away from the wall, exposing the electrical box behind it. Take a moment to inspect the electrical box for any signs of damage or loose wires. If you notice any issues, it’s best to consult a professional electrician before proceeding.
Removing the Old Light Switch
With the switch plate cover removed, you can now focus on removing the old light switch. Start by unscrewing the screws that hold the old switch in place. Once the screws are removed, carefully pull the switch out, ensuring not to touch any wires. It’s crucial to handle the old switch with care to avoid any accidental shocks.
Before proceeding further, it’s essential to double-check that there is no power running through the wires. You can do this by using a voltage tester. Simply touch the tester to the exposed wires and observe the readings. If the tester indicates the presence of electrical current, stop immediately and consult a professional electrician.
Assuming the voltage tester confirms that the wires are not live, you can proceed with disconnecting the wires from the old switch. This is typically done by unscrewing the wire nuts or releasing them from the terminal screws. As you remove the wires, take note of how they were connected to the old switch. This information will be crucial when connecting the wires to the new switch.
Installing the New Light Switch
Now that the old switch is removed and the wires are disconnected, it’s time to install the new light switch. Begin by connecting the wires to the new switch. This typically involves twisting the bare ends of the wires together and securing them with wire nuts or attaching them to terminal screws. It’s important to ensure that the connections are tight and secure to prevent any future electrical issues.
Once the wires are securely connected, carefully push the switch back into the electrical box. Make sure that the wires are neatly tucked inside the box to avoid any pinching or damage. Align the screw holes on the switch with the holes on the electrical box and screw it in place using the provided screws. Be careful not to overtighten the screws, as this can damage the switch or the electrical box.
With the new switch securely installed, it’s time to attach the switch plate cover. Align the cover with the switch and the screw holes on the wall. Insert the screws and tighten them until the cover is firmly in place. Take a moment to ensure that the cover is level and aligned with the surrounding wall. A neatly installed switch plate cover adds a professional touch to the overall appearance of the room.
Before turning the power back on to the room, it’s crucial to double-check that the switch is functioning correctly. Flip the switch up and down a few times to test its operation. If the light turns on and off smoothly, you can proceed with restoring power to the room. Switch the circuit breaker back on or insert the fuse, and observe the light switch to ensure that it functions properly.
Remember, if you encounter any difficulties or are unsure about any step in the process, it’s always best to consult a professional electrician. They have the knowledge and expertise to handle electrical installations safely and efficiently.
Safety Measures to Keep in Mind During Installation
While performing any electrical work, safety should be your top priority. Here are some important safety measures to keep in mind:
Importance of Turning Off the Power
Always remember to turn off the power before starting any electrical work. This will prevent electrical shocks and injuries. Use a voltage tester to confirm the absence of power before touching any wires.
Handling Wires Safely
When working with wires, handle them carefully to avoid any damage or fraying. Make sure to strip the wire insulation properly and securely connect the wires for a reliable electrical connection.
Ensuring Proper Grounding
Proper grounding is crucial for safety reasons. Ensure that the light switch is properly grounded by connecting the grounding wire to the corresponding terminal or attaching it to the metal electrical box.
Troubleshooting Common Light Switch Problems
Even with proper installation, light switches can encounter issues over time. Here are a couple of common problems you may encounter and how to troubleshoot them:
What to Do When the Light Switch Doesn’t Work
If your newly installed light switch doesn’t work, begin by checking the connections. Make sure the wires are securely connected and that there are no loose or damaged wires. If the connections appear fine, the switch itself may be faulty and need replacement.
Dealing with Flickering Lights
Flickering lights can be caused by loose connections. Start by checking the switch’s wiring, ensuring that all connections are secure. If the issue persists, it may be a larger electrical problem and it’s best to consult a professional electrician.
In conclusion, installing a light switch can be a rewarding DIY project if done with proper knowledge and precautions. By understanding the basics, gathering the necessary tools, following a step-by-step guide, and keeping safety measures in mind, you can successfully complete the installation and enjoy the convenience of a functional light switch. Remember, if you encounter any difficulties or feel uncertain, it’s always wise to seek professional help to ensure a safe and efficient electrical system in your home.